ASTM D4419 Standard Test Method for Measurement of Transition Temperatures of Petroleum Waxes by Differential Scanning Calorimetry (DSC)
7. Apparatus
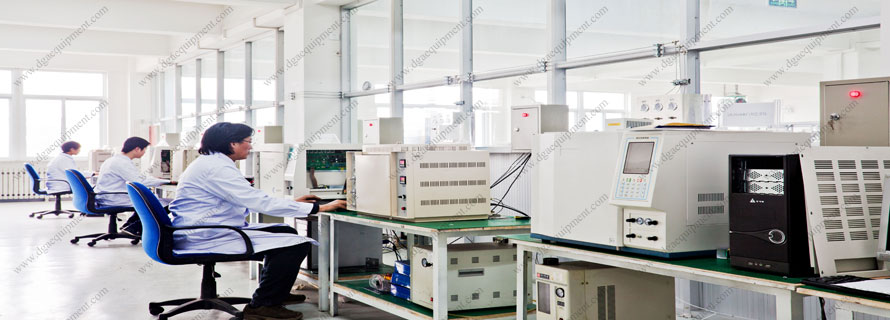
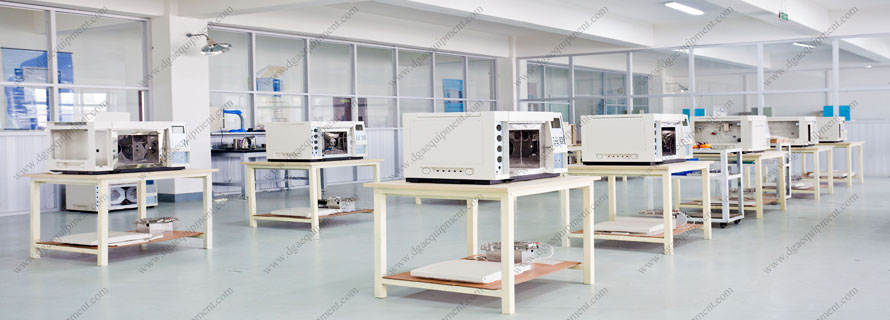
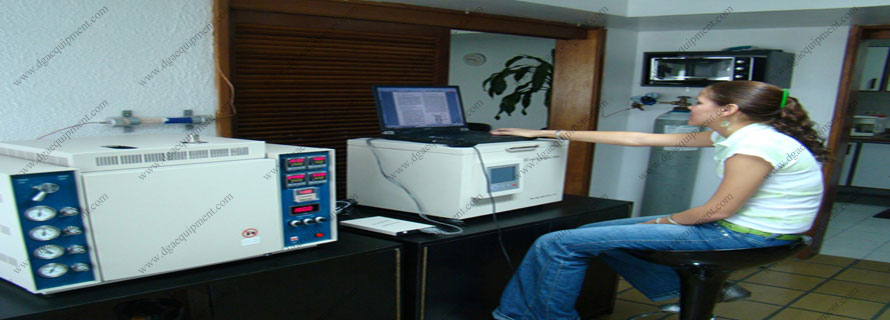
7.1 Differential Scanning Calorimeter, operating in either power compensation or heat flux mode, capable of heating at 10 ± 1°C/min from 15°C to 150°C. Controlled cooling capability is preferred but not essential. The calorimeter must be able to record automatically the differential signal (WE or WT) versus temperature with a temperature repeatability of ±0.5°C. If the differential record is versus time, the calorimeter must have the capability to make a simultaneous record of temperature versus time.
7.2 Sample Pans, of aluminum or other metal of high thermal conductivity, excluding copper and its alloys.
7.3 Reference Material - Glass beads, alumina powder, silicon carbide, or any material known to be unaffected by repeated heating and cooling and free from interfering transitions. The specific heat capacity of the reference should be as close as possible to that of the test material.
7.4 Recorder, capable of recording heat flow versus temperature.
8. Reagent
8.1 Nitrogen, or other dry inert gas supply for flushing the sample compartment.
9. Calibration
9.1 Using the instrument manufacturer's recommended procedure, calibrate the instrument's temperature scale over the temperature range of interest with appropriate standards. These include, but are not limited to:
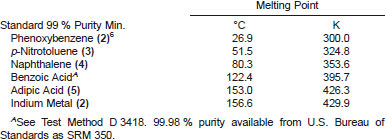
9.2 The specimen weight and test procedure should be those specified in Section 10, except that the precycle (11.3) is omitted.
10. Specimen Preparation
10.1 To ensure homogeneity, completely melt the entire sample by heating it to 10°C above the temperature at which the wax is completely molten. Using a clean eyedropper, transfer a few drops to the surface of a clean sheet of aluminum foil to form a thin wax film. Separate the wax from the foil, and break it into pieces.
